> ## Documentation Index
> Fetch the complete documentation index at: https://runpod-b18f5ded-public-endpoints.mintlify.site/llms.txt
> Use this file to discover all available pages before exploring further.
# Manage Pods with dstack on Runpod
[dstack](https://dstack.ai/) is an open-source tool that simplifies the orchestration of Pods for AI and ML workloads. By defining your application and resource requirements in YAML configuration files, it automates the provisioning and management of cloud resources on Runpod, allowing you to focus on your application logic rather than the infrastructure.
In this guide, we'll walk through setting up [dstack](https://dstack.ai/) with Runpod to deploy [vLLM](https://github.com/vllm-project/vllm). We'll serve the `meta-llama/Llama-3.1-8B-Instruct` model from Hugging Face using a Python environment.
## Prerequisites
* [A Runpod account with an API key](/get-started/api-keys)
* On your local machine:
* Python 3.8 or higher
* `pip` (or `pip3` on macOS)
* Basic utilities: `curl`
* These instructions are applicable for macOS, Linux, and Windows systems.
**Windows Users**
* It's recommended to use [WSL (Windows Subsystem for Linux)](https://docs.microsoft.com/en-us/windows/wsl/install) or tools like [Git Bash](https://gitforwindows.org/) to follow along with the Unix-like commands used in this tutorial
* Alternatively, Windows users can use PowerShell or Command Prompt and adjust commands accordingly
## Installation
### Setting Up the dstack Server
1. **Prepare Your Workspace**
Open a terminal or command prompt and create a new directory for this tutorial:
```bash theme={"system"}
mkdir runpod-dstack-tutorial
cd runpod-dstack-tutorial
```
2. **Set Up a Python Virtual Environment**
```bash theme={"system"}
python3 -m venv .venv
source .venv/bin/activate
```
```bash theme={"system"}
python3 -m venv .venv
source .venv/bin/activate
```
**Command Prompt:**
```bash theme={"system"}
python -m venv .venv
.venv\Scripts\activate
```
**PowerShell:**
```bash theme={"system"}
python -m venv .venv
.venv\Scripts\Activate.ps1
```
3. **Install dstack**
Use `pip` to install dstack:
```bash theme={"system"}
pip3 install -U "dstack[all]"
```
**Note:** If `pip3` is not available, you may need to install it or use `pip`.
```bash theme={"system"}
pip install -U "dstack[all]"
```
```bash theme={"system"}
pip install -U "dstack[all]"
```
### Configuring dstack for Runpod
1. **Create the Global Configuration File**
The following `config.yml` file is a **global configuration** used by [dstack](https://dstack.ai/) for all deployments on your computer. It's essential to place it in the correct configuration directory.
* **Create the configuration directory:**
```bash theme={"system"}
mkdir -p ~/.dstack/server
```
```bash theme={"system"}
mkdir -p ~/.dstack/server
```
**Command Prompt or PowerShell:**
```bash theme={"system"}
mkdir %USERPROFILE%\.dstack\server
```
* **Navigate to the configuration directory:**
```bash theme={"system"}
cd ~/.dstack/server
```
```bash theme={"system"}
cd ~/.dstack/server
```
```bash theme={"system"}
cd %USERPROFILE%\.dstack\server
```
* **Create the `config.yml` File**
In the configuration directory, create a file named `config.yml` with the following content:
```yml theme={"system"}
projects:
- name: main
backends:
- type: runpod
creds:
type: api_key
api_key: YOUR_RUNPOD_API_KEY
```
Replace `YOUR_RUNPOD_API_KEY` with the API key you obtained from Runpod.
2. **Start the dstack Server**
From the configuration directory, start the dstack server:
```bash theme={"system"}
dstack server
```
You should see output indicating that the server is running:
```bash theme={"system"}
[INFO] Applying ~/.dstack/server/config.yml...
[INFO] The admin token is ADMIN-TOKEN
[INFO] The dstack server is running at http://127.0.0.1:3000
```
The `ADMIN-TOKEN` displayed is important for accessing the dstack web UI.
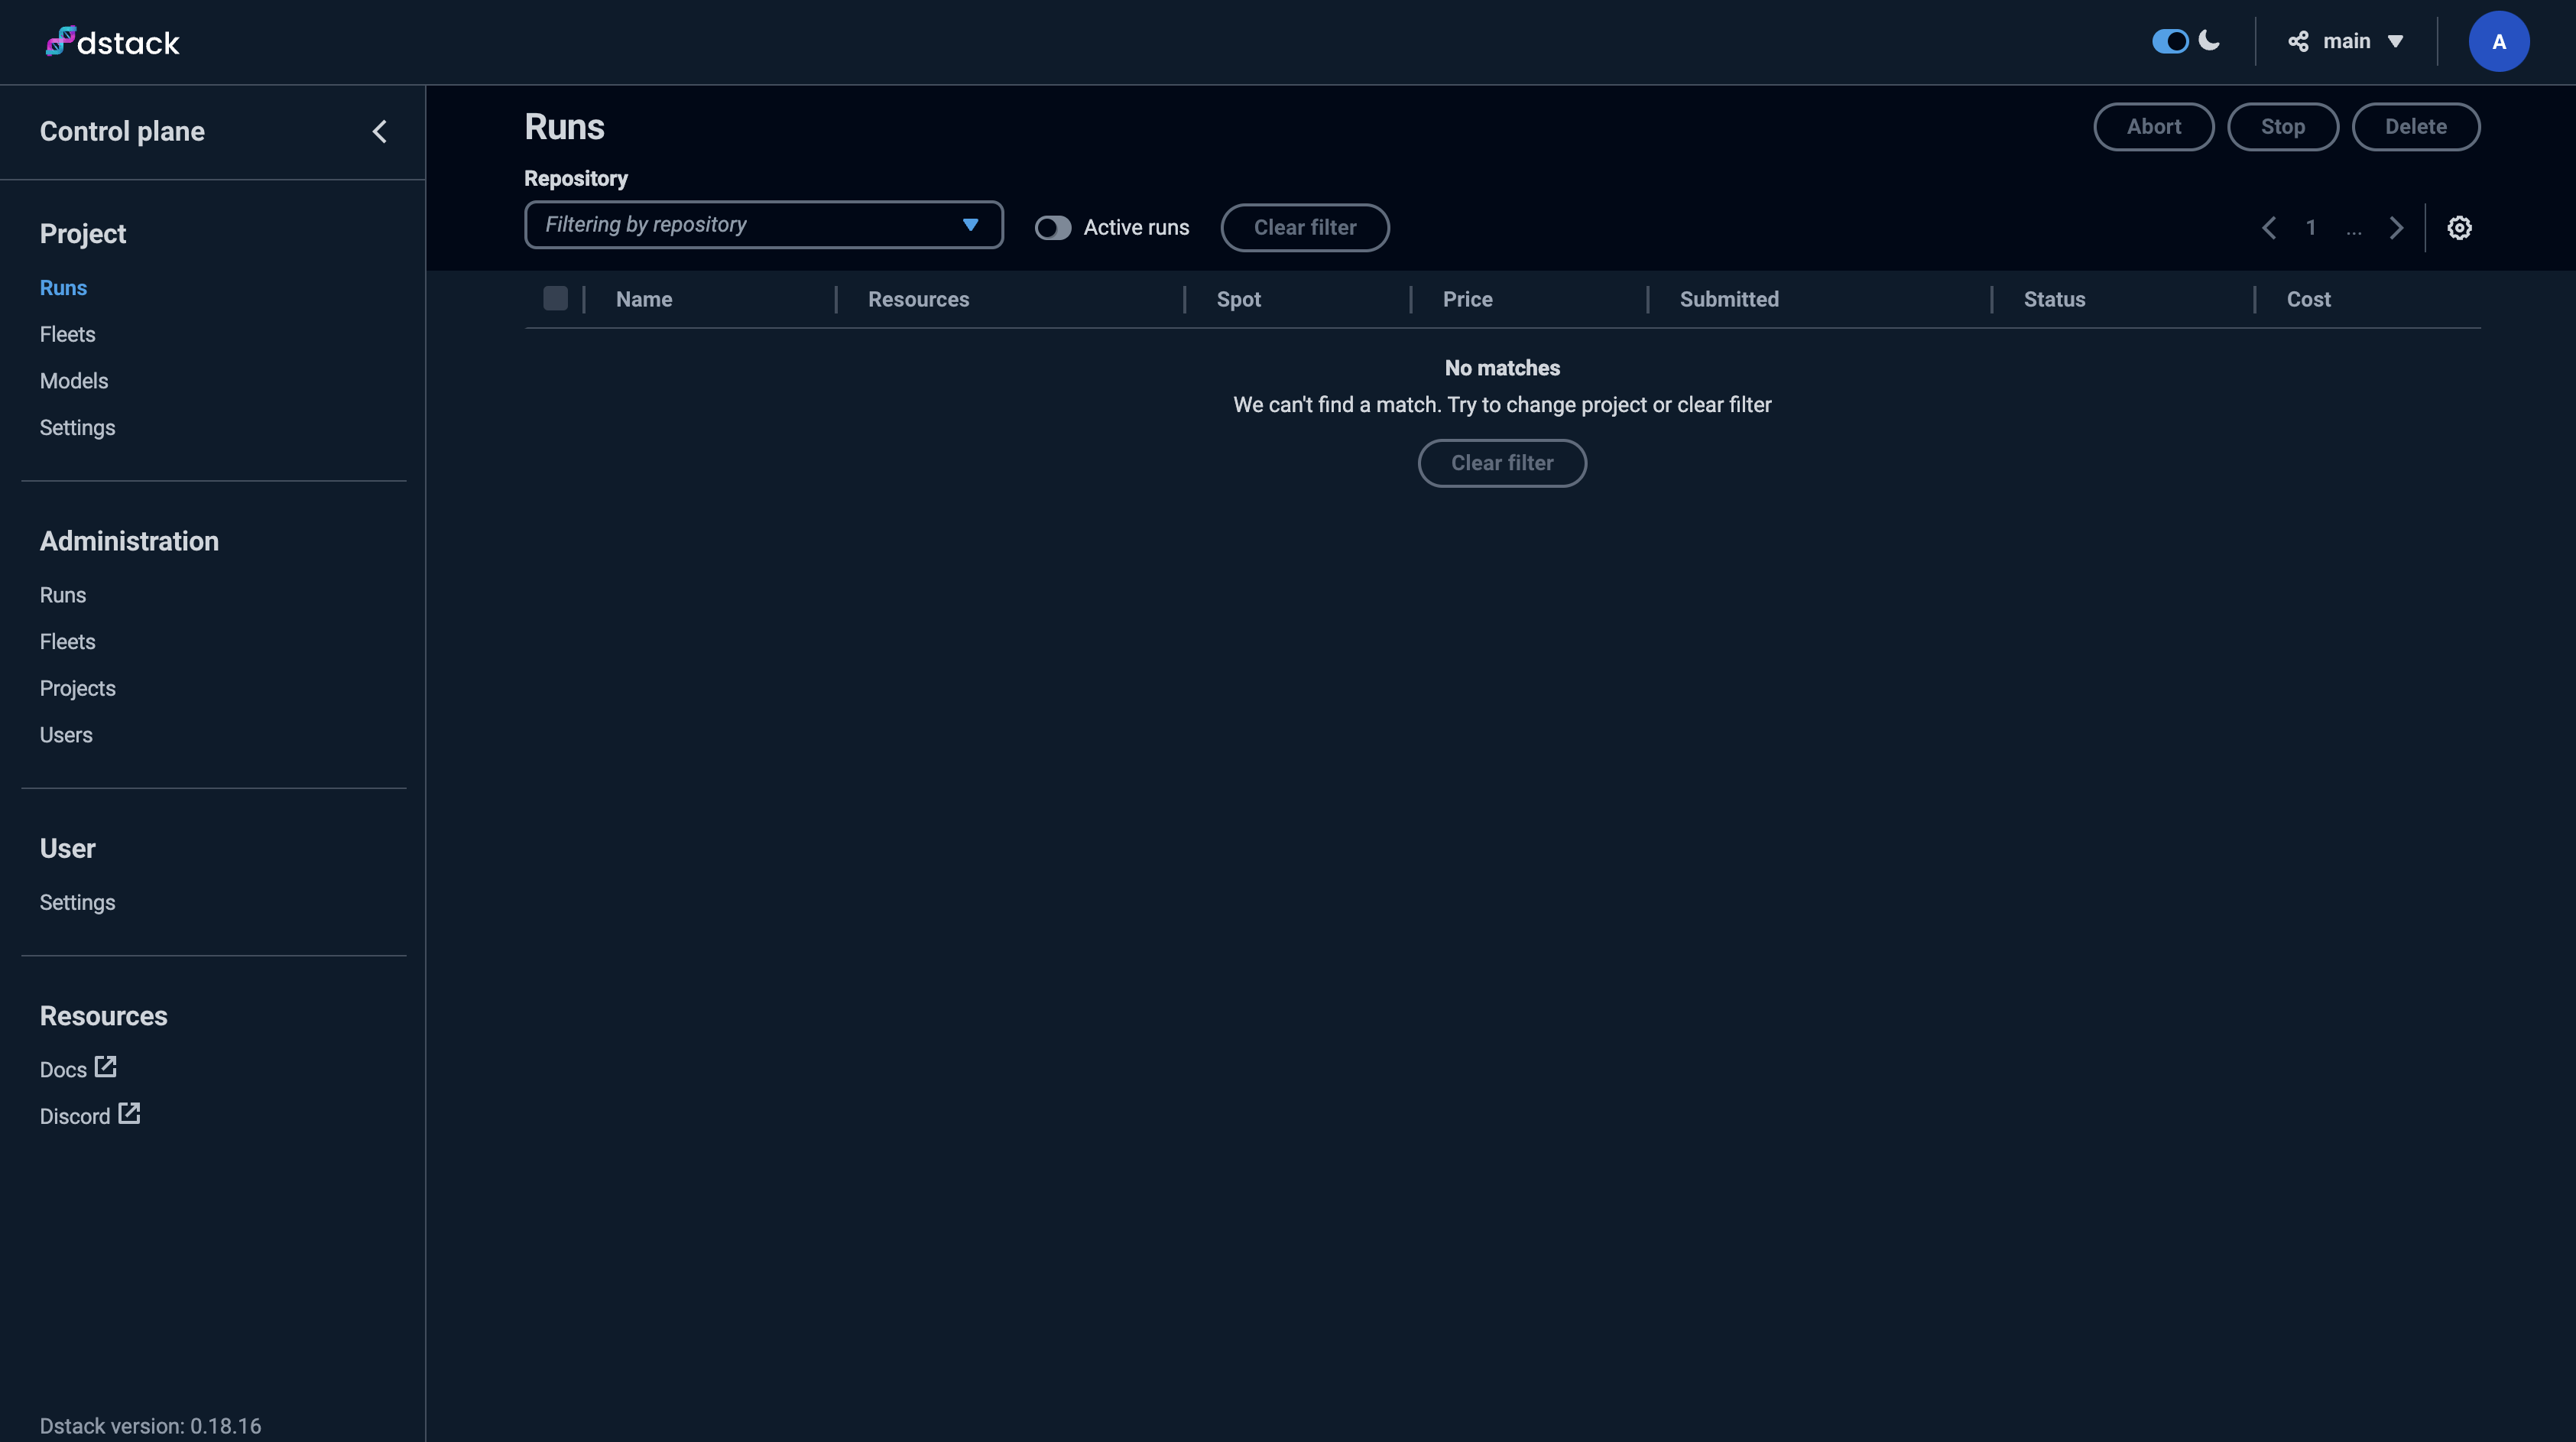
3. **Access the dstack Web UI**
* Open your web browser and navigate to `http://127.0.0.1:3000`.
* When prompted for an admin token, enter the `ADMIN-TOKEN` from the server output.
* The web UI allows you to monitor and manage your deployments.
 ## Deploying vLLM as a Task
### Step 1: Configure the Deployment Task
1. **Prepare for Deployment**
* Open a new terminal or command prompt window.
* Navigate to your tutorial directory:
```bash theme={"system"}
cd runpod-dstack-tutorial
```
* **Activate the Python Virtual Environment**
```bash theme={"system"}
source .venv/bin/activate
```
```bash theme={"system"}
source .venv/bin/activate
```
**Command Prompt:**
```bash theme={"system"}
.venv\Scripts\activate
```
**PowerShell:**
```bash theme={"system"}
.venv\Scripts\Activate.ps1
```
2. **Create a Directory for the Task**
Create and navigate to a new directory for the deployment task:
```bash theme={"system"}
mkdir task-vllm-llama
cd task-vllm-llama
```
3. **Create the dstack Configuration File**
* **Create the `.dstack.yml` File**
Create a file named `.dstack.yml` (or `dstack.yml` if your system doesn't allow filenames starting with a dot) with the following content:
```yml theme={"system"}
type: task
name: vllm-llama-3.1-8b-instruct
python: "3.10"
env:
- HUGGING_FACE_HUB_TOKEN=YOUR_HUGGING_FACE_HUB_TOKEN
- MODEL_NAME=meta-llama/Llama-3.1-8B-Instruct
- MAX_MODEL_LEN=8192
commands:
- pip install vllm
- vllm serve $MODEL_NAME --port 8000 --max-model-len $MAX_MODEL_LEN
ports:
- 8000
spot_policy: on-demand
resources:
gpu:
name: "RTX4090"
memory: "24GB"
cpu: 16..
```
Replace `YOUR_HUGGING_FACE_HUB_TOKEN` with your actual [Hugging Face access token](https://huggingface.co/settings/tokens) (read-access is enough) or define the token in your environment variables. Without this token, the model cannot be downloaded as it is gated.
### Step 2: Initialize and Deploy the Task
1. **Initialize dstack**
Run the following command **in the directory where your `.dstack.yml` file is located**:
```bash theme={"system"}
dstack init
```
2. **Apply the Configuration**
Deploy the task by applying the configuration:
```bash theme={"system"}
dstack apply
```
* You will see an output summarizing the deployment configuration and available instances.
* When prompted:
```bash theme={"system"}
Submit the run vllm-llama-3.1-8b-instruct? [y/n]:
```
Type `y` and press `Enter` to confirm.
* The `ports` configuration provides port forwarding from the deployed pod to `localhost`, allowing you to access the deployed vLLM via `localhost:8000`.
3. **Monitor the Deployment**
* After executing `dstack apply`, you'll see all the steps that dstack performs:
* Provisioning the pod on Runpod.
* Downloading the Docker image.
* Installing required packages.
* Downloading the model from Hugging Face.
* Starting the vLLM server.
* The logs of vLLM will be displayed in the terminal.
* To monitor the logs at any time, run:
```bash theme={"system"}
dstack logs vllm-llama-3.1-8b-instruct
```
* Wait until you see logs indicating that vLLM is serving the model, such as:
```
INFO: Started server process [1]
INFO: Waiting for application startup.
INFO: Application startup complete.
INFO: Uvicorn running on http://0.0.0.0:8000 (Press CTRL+C to quit)
```
### Step 3: Test the Model Server
1. **Access the Service**
Since the `ports` configuration forwards port `8000` from the deployed pod to `localhost`, you can access the vLLM server via `http://localhost:8000`.
2. **Test the Service Using `curl`**
Use the following `curl` command to test the deployed model:
```bash theme={"system"}
curl -X POST http://localhost:8000/v1/chat/completions \
-H "Content-Type: application/json" \
-d '{
"model": "meta-llama/Llama-3.1-8B-Instruct",
"messages": [
{"role": "system", "content": "You are Poddy, a helpful assistant."},
{"role": "user", "content": "What is your name?"}
],
"temperature": 0,
"max_tokens": 150
}'
```
```bash theme={"system"}
curl -X POST http://localhost:8000/v1/chat/completions \
-H "Content-Type: application/json" \
-d '{
"model": "meta-llama/Llama-3.1-8B-Instruct",
"messages": [
{"role": "system", "content": "You are Poddy, a helpful assistant."},
{"role": "user", "content": "What is your name?"}
],
"temperature": 0,
"max_tokens": 150
}'
```
**Command Prompt:**
```bash theme={"system"}
curl -X POST http://localhost:8000/v1/chat/completions -H "Content-Type: application/json" -d "{ \"model\": \"meta-llama/Llama-3.1-8B-Instruct\", \"messages\": [ {\"role\": \"system\", \"content\": \"You are Poddy, a helpful assistant.\"}, {\"role\": \"user\", \"content\": \"What is your name?\"} ], \"temperature\": 0, \"max_tokens\": 150 }"
```
**PowerShell:**
```bash theme={"system"}
curl.exe -Method Post http://localhost:8000/v1/chat/completions `
-Headers @{ "Content-Type" = "application/json" } `
-Body '{ "model": "meta-llama/Llama-3.1-8B-Instruct", "messages": [ {"role": "system", "content": "You are Poddy, a helpful assistant."}, {"role": "user", "content": "What is your name?"} ], "temperature": 0, "max_tokens": 150 }'
```
3. **Verify the Response**
You should receive a JSON response similar to the following:
```json theme={"system"}
{
"id": "chat-f0566a5143244d34a0c64c968f03f80c",
"object": "chat.completion",
"created": 1727902323,
"model": "meta-llama/Llama-3.1-8B-Instruct",
"choices": [
{
"index": 0,
"message": {
"role": "assistant",
"content": "My name is Poddy, and I'm here to assist you with any questions or information you may need.",
"tool_calls": []
},
"logprobs": null,
"finish_reason": "stop",
"stop_reason": null
}
],
"usage": {
"prompt_tokens": 49,
"total_tokens": 199,
"completion_tokens": 150
},
"prompt_logprobs": null
}
```
This confirms that the model is running and responding as expected.
### Step 4: Clean Up
To avoid incurring additional costs, it's important to stop the task when you're finished.
1. **Stop the Task**
In the terminal where you ran `dstack apply`, you can stop the task by pressing `Ctrl + C`.
You'll be prompted:
```
Stop the run vllm-llama-3.1-8b-instruct before detaching? [y/n]:
```
Type `y` and press `Enter` to confirm stopping the task.
2. **Terminate the Instance**
The instance will terminate automatically after stopping the task.
If you wish to ensure the instance is terminated immediately, you can run:
```bash theme={"system"}
dstack stop vllm-llama-3.1-8b-instruct
```
3. **Verify Termination**
Check your Runpod dashboard or the [dstack](https://dstack.ai/) web UI to ensure that the instance has been terminated.
## Additional Tips: Using Volumes for Persistent Storage
If you need to retain data between runs or cache models to reduce startup times, you can use volumes.
### Creating a Volume
Create a separate [dstack](https://dstack.ai/) file named `volume.dstack.yml` with the following content:
```yml theme={"system"}
type: volume
name: llama31-volume
backend: runpod
region: EUR-IS-1
# Required size
size: 100GB
```
The `region` ties your volume to a specific region, which then also ties your Pod to that same region.
Apply the volume configuration:
```sh theme={"system"}
dstack apply -f volume.dstack.yml
```
This will create the volume named `llama31-volume`.
### Using the Volume in Your Task
Modify your `.dstack.yml` file to include the volume:
```yml theme={"system"}
volumes:
- name: llama31-volume
path: /data
```
This configuration will mount the volume to the `/data` directory inside your container.
By doing this, you can store models and data persistently, which can be especially useful for large models that take time to download.
For more information on using volumes with Runpod, refer to the [dstack blog on volumes](https://dstack.ai/blog/volumes-on-runpod/).
***
## Conclusion
By leveraging [dstack](https://dstack.ai/) on Runpod, you can efficiently deploy and manage Pods, accelerating your development workflow and reducing operational overhead.
## Deploying vLLM as a Task
### Step 1: Configure the Deployment Task
1. **Prepare for Deployment**
* Open a new terminal or command prompt window.
* Navigate to your tutorial directory:
```bash theme={"system"}
cd runpod-dstack-tutorial
```
* **Activate the Python Virtual Environment**
```bash theme={"system"}
source .venv/bin/activate
```
```bash theme={"system"}
source .venv/bin/activate
```
**Command Prompt:**
```bash theme={"system"}
.venv\Scripts\activate
```
**PowerShell:**
```bash theme={"system"}
.venv\Scripts\Activate.ps1
```
2. **Create a Directory for the Task**
Create and navigate to a new directory for the deployment task:
```bash theme={"system"}
mkdir task-vllm-llama
cd task-vllm-llama
```
3. **Create the dstack Configuration File**
* **Create the `.dstack.yml` File**
Create a file named `.dstack.yml` (or `dstack.yml` if your system doesn't allow filenames starting with a dot) with the following content:
```yml theme={"system"}
type: task
name: vllm-llama-3.1-8b-instruct
python: "3.10"
env:
- HUGGING_FACE_HUB_TOKEN=YOUR_HUGGING_FACE_HUB_TOKEN
- MODEL_NAME=meta-llama/Llama-3.1-8B-Instruct
- MAX_MODEL_LEN=8192
commands:
- pip install vllm
- vllm serve $MODEL_NAME --port 8000 --max-model-len $MAX_MODEL_LEN
ports:
- 8000
spot_policy: on-demand
resources:
gpu:
name: "RTX4090"
memory: "24GB"
cpu: 16..
```
Replace `YOUR_HUGGING_FACE_HUB_TOKEN` with your actual [Hugging Face access token](https://huggingface.co/settings/tokens) (read-access is enough) or define the token in your environment variables. Without this token, the model cannot be downloaded as it is gated.
### Step 2: Initialize and Deploy the Task
1. **Initialize dstack**
Run the following command **in the directory where your `.dstack.yml` file is located**:
```bash theme={"system"}
dstack init
```
2. **Apply the Configuration**
Deploy the task by applying the configuration:
```bash theme={"system"}
dstack apply
```
* You will see an output summarizing the deployment configuration and available instances.
* When prompted:
```bash theme={"system"}
Submit the run vllm-llama-3.1-8b-instruct? [y/n]:
```
Type `y` and press `Enter` to confirm.
* The `ports` configuration provides port forwarding from the deployed pod to `localhost`, allowing you to access the deployed vLLM via `localhost:8000`.
3. **Monitor the Deployment**
* After executing `dstack apply`, you'll see all the steps that dstack performs:
* Provisioning the pod on Runpod.
* Downloading the Docker image.
* Installing required packages.
* Downloading the model from Hugging Face.
* Starting the vLLM server.
* The logs of vLLM will be displayed in the terminal.
* To monitor the logs at any time, run:
```bash theme={"system"}
dstack logs vllm-llama-3.1-8b-instruct
```
* Wait until you see logs indicating that vLLM is serving the model, such as:
```
INFO: Started server process [1]
INFO: Waiting for application startup.
INFO: Application startup complete.
INFO: Uvicorn running on http://0.0.0.0:8000 (Press CTRL+C to quit)
```
### Step 3: Test the Model Server
1. **Access the Service**
Since the `ports` configuration forwards port `8000` from the deployed pod to `localhost`, you can access the vLLM server via `http://localhost:8000`.
2. **Test the Service Using `curl`**
Use the following `curl` command to test the deployed model:
```bash theme={"system"}
curl -X POST http://localhost:8000/v1/chat/completions \
-H "Content-Type: application/json" \
-d '{
"model": "meta-llama/Llama-3.1-8B-Instruct",
"messages": [
{"role": "system", "content": "You are Poddy, a helpful assistant."},
{"role": "user", "content": "What is your name?"}
],
"temperature": 0,
"max_tokens": 150
}'
```
```bash theme={"system"}
curl -X POST http://localhost:8000/v1/chat/completions \
-H "Content-Type: application/json" \
-d '{
"model": "meta-llama/Llama-3.1-8B-Instruct",
"messages": [
{"role": "system", "content": "You are Poddy, a helpful assistant."},
{"role": "user", "content": "What is your name?"}
],
"temperature": 0,
"max_tokens": 150
}'
```
**Command Prompt:**
```bash theme={"system"}
curl -X POST http://localhost:8000/v1/chat/completions -H "Content-Type: application/json" -d "{ \"model\": \"meta-llama/Llama-3.1-8B-Instruct\", \"messages\": [ {\"role\": \"system\", \"content\": \"You are Poddy, a helpful assistant.\"}, {\"role\": \"user\", \"content\": \"What is your name?\"} ], \"temperature\": 0, \"max_tokens\": 150 }"
```
**PowerShell:**
```bash theme={"system"}
curl.exe -Method Post http://localhost:8000/v1/chat/completions `
-Headers @{ "Content-Type" = "application/json" } `
-Body '{ "model": "meta-llama/Llama-3.1-8B-Instruct", "messages": [ {"role": "system", "content": "You are Poddy, a helpful assistant."}, {"role": "user", "content": "What is your name?"} ], "temperature": 0, "max_tokens": 150 }'
```
3. **Verify the Response**
You should receive a JSON response similar to the following:
```json theme={"system"}
{
"id": "chat-f0566a5143244d34a0c64c968f03f80c",
"object": "chat.completion",
"created": 1727902323,
"model": "meta-llama/Llama-3.1-8B-Instruct",
"choices": [
{
"index": 0,
"message": {
"role": "assistant",
"content": "My name is Poddy, and I'm here to assist you with any questions or information you may need.",
"tool_calls": []
},
"logprobs": null,
"finish_reason": "stop",
"stop_reason": null
}
],
"usage": {
"prompt_tokens": 49,
"total_tokens": 199,
"completion_tokens": 150
},
"prompt_logprobs": null
}
```
This confirms that the model is running and responding as expected.
### Step 4: Clean Up
To avoid incurring additional costs, it's important to stop the task when you're finished.
1. **Stop the Task**
In the terminal where you ran `dstack apply`, you can stop the task by pressing `Ctrl + C`.
You'll be prompted:
```
Stop the run vllm-llama-3.1-8b-instruct before detaching? [y/n]:
```
Type `y` and press `Enter` to confirm stopping the task.
2. **Terminate the Instance**
The instance will terminate automatically after stopping the task.
If you wish to ensure the instance is terminated immediately, you can run:
```bash theme={"system"}
dstack stop vllm-llama-3.1-8b-instruct
```
3. **Verify Termination**
Check your Runpod dashboard or the [dstack](https://dstack.ai/) web UI to ensure that the instance has been terminated.
## Additional Tips: Using Volumes for Persistent Storage
If you need to retain data between runs or cache models to reduce startup times, you can use volumes.
### Creating a Volume
Create a separate [dstack](https://dstack.ai/) file named `volume.dstack.yml` with the following content:
```yml theme={"system"}
type: volume
name: llama31-volume
backend: runpod
region: EUR-IS-1
# Required size
size: 100GB
```
The `region` ties your volume to a specific region, which then also ties your Pod to that same region.
Apply the volume configuration:
```sh theme={"system"}
dstack apply -f volume.dstack.yml
```
This will create the volume named `llama31-volume`.
### Using the Volume in Your Task
Modify your `.dstack.yml` file to include the volume:
```yml theme={"system"}
volumes:
- name: llama31-volume
path: /data
```
This configuration will mount the volume to the `/data` directory inside your container.
By doing this, you can store models and data persistently, which can be especially useful for large models that take time to download.
For more information on using volumes with Runpod, refer to the [dstack blog on volumes](https://dstack.ai/blog/volumes-on-runpod/).
***
## Conclusion
By leveraging [dstack](https://dstack.ai/) on Runpod, you can efficiently deploy and manage Pods, accelerating your development workflow and reducing operational overhead.